

Where and how you mount a solar panel decides how much it produces, how long it lasts and how the bike rides. There is no single right answer – but there are good principles.
The four common places
- Rear rack: simple and close to the battery, but limited in size and partly shaded by the rider.
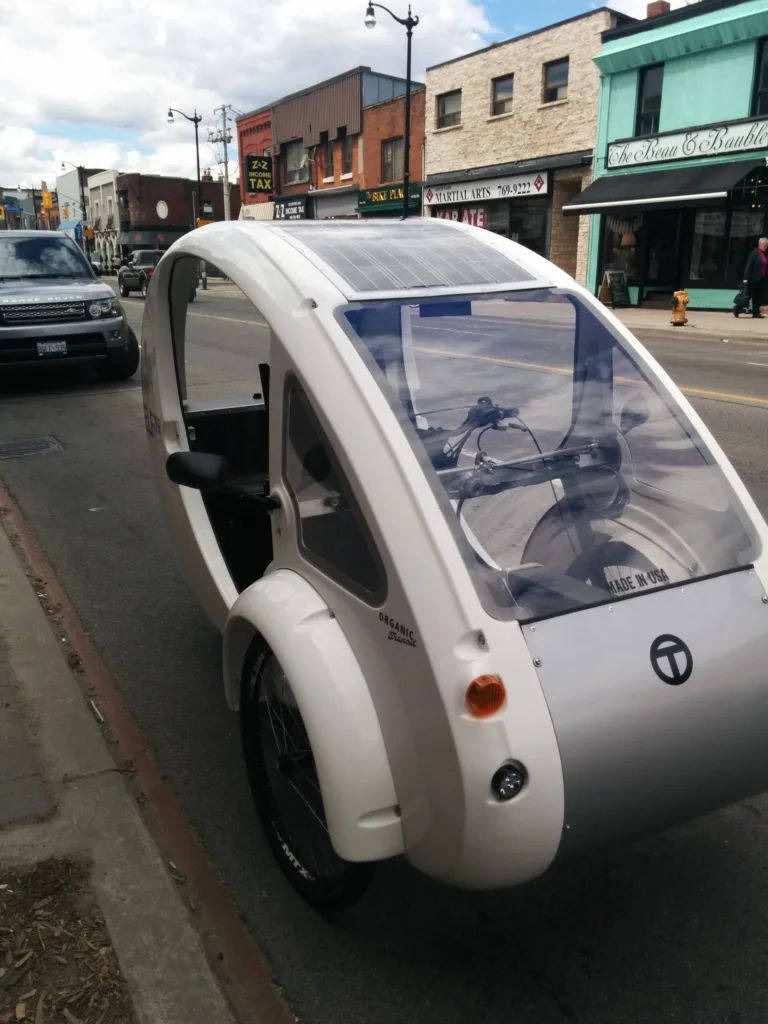
- Roof of a trike, velomobile or cargo bike: the largest surface on the vehicle itself and protection from rain – see our solar trikes.
- Trailer: room for 100–200 W without loading the bike – see solar bike trailers.
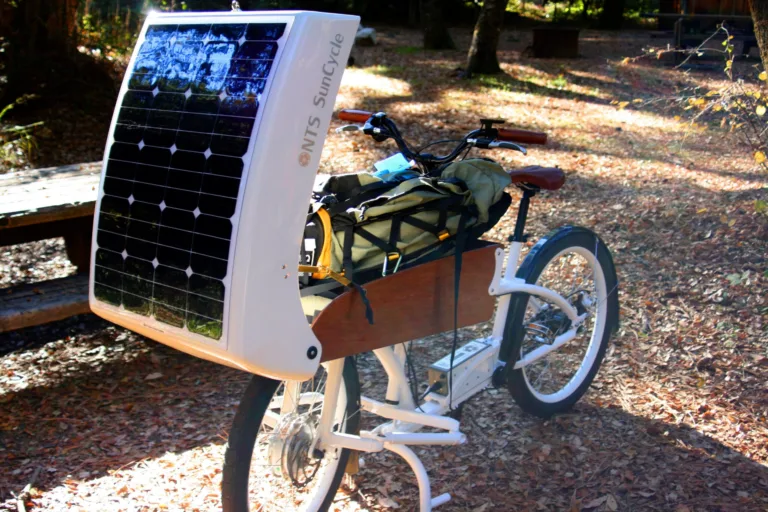
- Deployable: folded away while riding, unfolded at breaks and on the campsite.
Principles that always apply
- Stiff backing: panels must not flex with every bump – especially flexible panels.
- Air behind the panel: cooler panels produce more and live longer.
- Strain relief: no cable should carry weight or rub on the frame.
- Safety first: no sharp edges, nothing that blocks lights, brakes or steering, and a mount that survives a fall.
- Wind and width: large panels act like sails – plan for crosswind and narrow paths.
Angle versus aerodynamics
A panel tilted towards the sun produces noticeably more than one lying flat, but tilting costs aerodynamics and stability while riding. Many riders mount flat for riding and tilt or unfold at breaks.
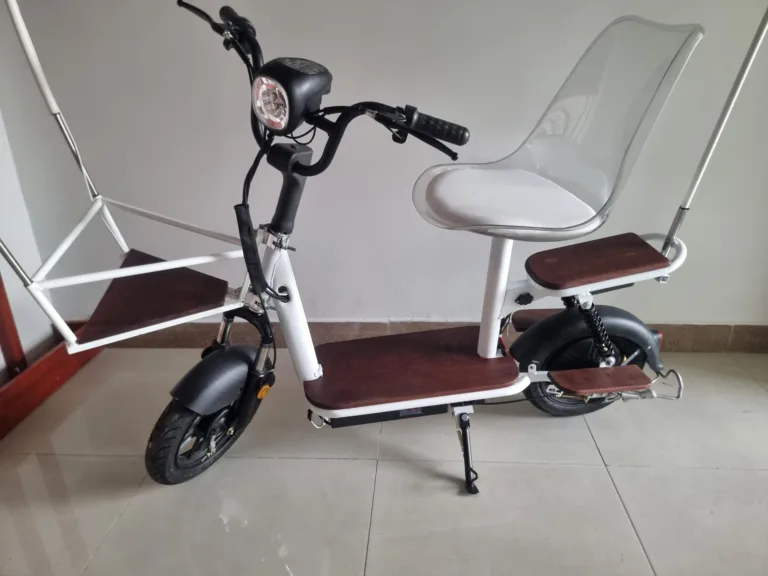
See how others did it: the Organic Transit ELF, the NTS SunCycle cargo bike and the Sola.Bike. For wiring, continue with cables, fuses and connectors.